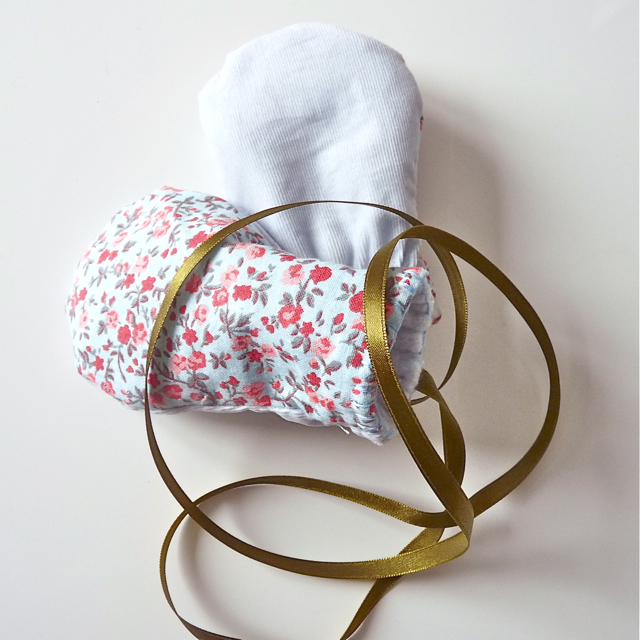
Baby Mittens are small baby gloves especially designed to protect them from scratching and injuring themselves.
A baby remains in a mother’s womb for nearly 40 months and after the delivery, he/she finds it difficult to adjust to the environment. Babies are not used to the warmth and noise in the environment and react in the form of inadvertent hand and leg movements. Some of these hand movements can injure the nose and eyes, and other facial features.
While baby swaddling is one way of countering this in the very early stages after birth, once the baby is one month old, it is not recommended to swaddle the baby when it is awake as it interrupts his/her growth. That is where the baby mittens come in handy. They are made up of extremely soft and comfortable fabric and not only prevent your child from hurting him/herself, but also provide warmth.
Baby mittens are easily available in the market, and are very much the integral part of a baby’s dress, but if you have sown something for the baby and want to make matching mitten for him/her, it can be easily done at home. In this article we will explain a simple method to make them.
The things you will require include a pattern which will be used for designing; lining fabric such as flannel to provide a silky feel to baby’s hand; a thick fabric of your choice to provide the outer texture, a very thin elastic to be inserted at the deep end of the mittens, some household sewing supplies and cutting equipment like scissors or cloth cutters.
Instructions for Making Baby Mittens
1. The first step is to draw an accurate layout of the mitten on the paper and decide upon the dimension of the different materials, which will be used. There are different patterns available on the internet and you can take a print out after downloading anyone of them.
2. Now cut the flannel (for internal lining) and the outer fabric according to the dimension defined in the pattern. If you are making a pair of mittens, you will be required to cut four patterns of flannel and outer fabric each – two will be used for one mitten.
3. Now take two pieces of lining and stitch them from the left side to the end of the curve on the right side. The straight part on the right side is left unstitched because it will help us in properly aligning the lining with the outer fabric. Leave about two inches seam on the sides of lining.
4. Now stitch the outer fabric – completely – but make sure than the seam is lesser than 2 inches, otherwise it will be difficult to insert the lining.
5. Now put the outer fabric part inside the lining so that the right sides are intact. Sew the lining and after pulling the outer fabric out, sew the top to make a casing space for elastic. Now insert and sew the elastic in the casing.
6. Repeat this step with the other mitten.
Image Courtesy: festotu.com


No Comment